By following these steps, you will successfully reauthorize Vendorati on Amazon Seller Central, enabling automatic report requests and unlocking upcoming new features.
If you have any questions or run into any issues, please contact our support team.
Step 1: Log in to Amazon Seller Central
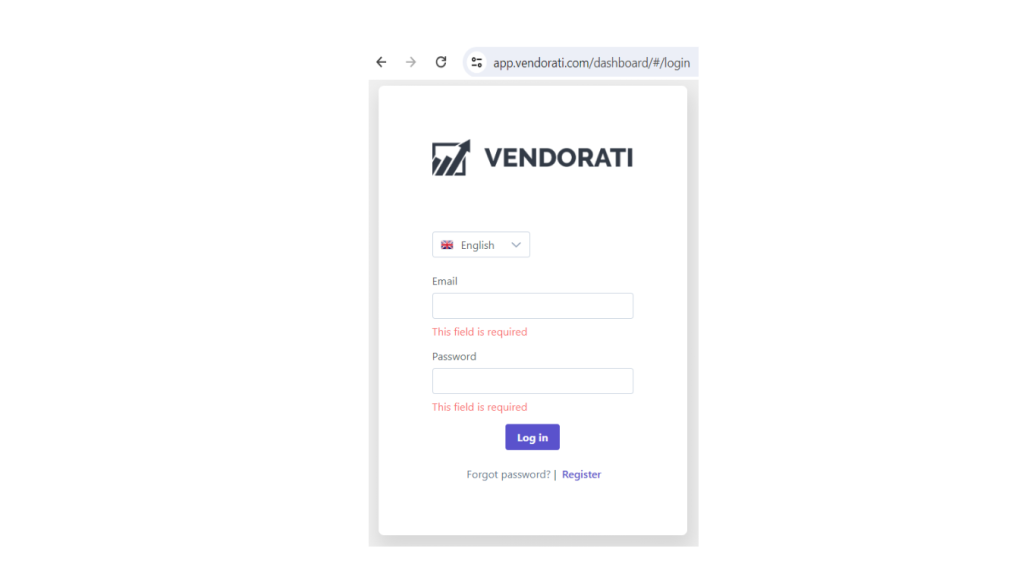
Open your web browser and go to www.vendorati.com
Enter your login credentials (email and password) to access your Vendorati account.

Step 2: Navigate to the Settings section
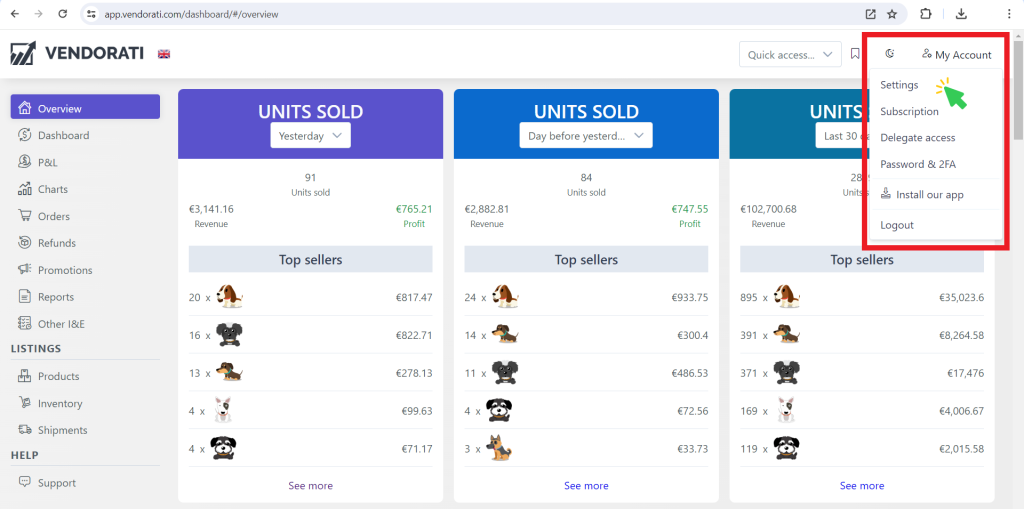
Once logged in, look at the top-right corner of the dashboard and click on My Account.
From the dropdown menu, select Settings and click on it.

Step 3: Manage Your Authorizations by Region
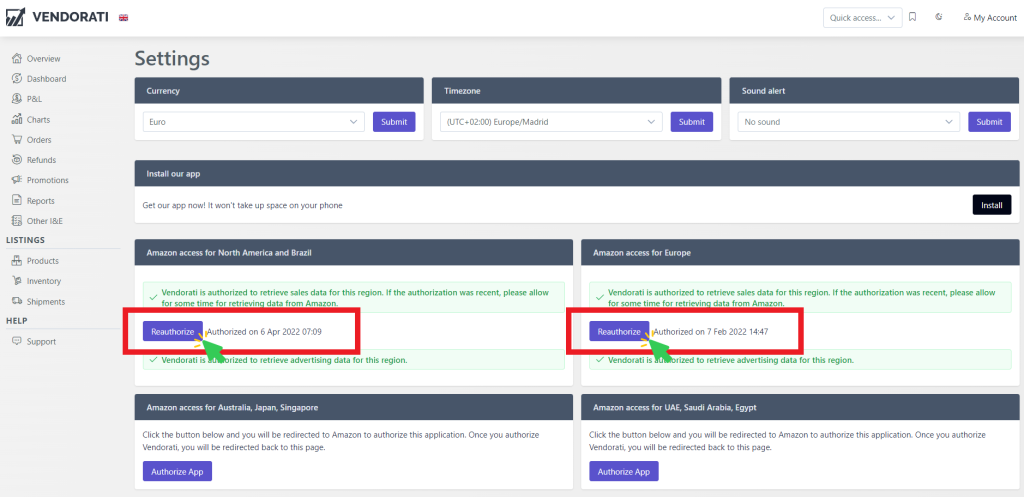
In the Settings section, scroll down to the Amazon API Access section.
Here you will see a list of all authorized regions. Find the ones you need to reauthorize and click on it.

Step 4: Reauthorize Vendorati
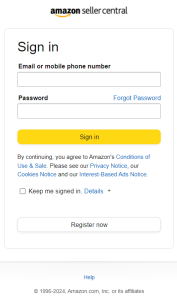
Once you clicked on the Reauthorize button, you will be redirected to the Amazon seller central authorization page.
Follow the on-screen instructions to complete the reauthorization process. This will typically involve confirming your Seller Central credentials and granting necessary permissions to Vendorati.

Step 5: Confirm Authorization
A pop-up window will appear asking you to confirm that you want to authorize Vendorati to access your selling data. Select the checkbox and then click the Confirm button at the bottom of the page.
After completing the reauthorization process, you will be redirect to the Vendorati App.
Tips for a Smooth Reauthorization Process
- Keep Your Credentials Handy: Make sure you have your Amazon Seller Central login details readily available.
- Use a Secure Connection: Perform these steps on a secure and trusted device to ensure your account details remain safe.
- Contact Support if Needed: If you encounter any issues during the reauthorization process, do not hesitate to contact Vendorati support for assistance.
